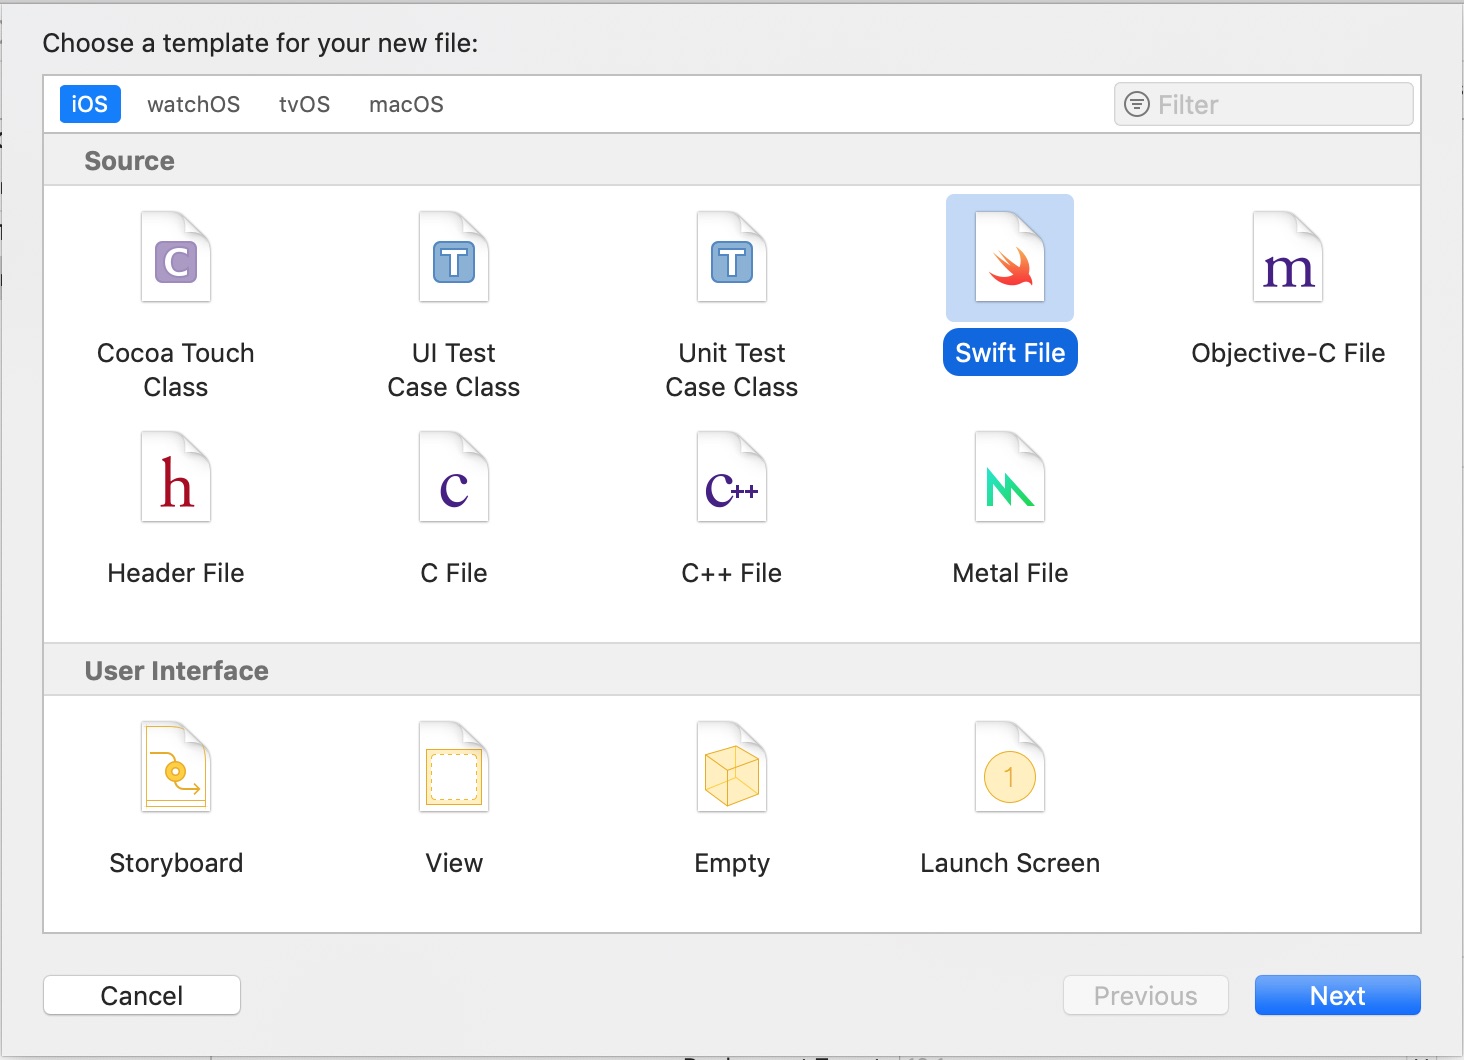
UITextField Extension by writing just one line of code. Using UITextField Extension will make our code reusable and cleaner.Create a Swift file and name it UITextField+Additions (you can choose other name as well).
UITextField and import UIKit framework. Add below code in the swift file we have just created.
import UIKit
extension UITextField {

    func addInputAccessoryView(title: String, target: Any, selector: Selector) {

        let toolBar = UIToolbar(frame: CGRect(x: 0.0,
                                              y: 0.0,
                                              width: UIScreen.main.bounds.size.width,
                                              height: 44.0))//1
        let flexible = UIBarButtonItem(barButtonSystemItem: .flexibleSpace, target: nil, action: nil)//2
        let barButton = UIBarButtonItem(title: title, style: .plain, target: target, action: selector)//3
        toolBar.setItems([flexible, barButton], animated: false)//4
        self.inputAccessoryView = toolBar//5
    }
}
2. Create a UIBarButtonItem of flexibleSpace type, it will fill the space and help to push our button to right or left depend on sequnce.
3. Create a UIBarButtonItem with title, target and selector from the parameters
4. Set toolbar items
5. Assign this tollbar as inputAccessoryView to the UITextField
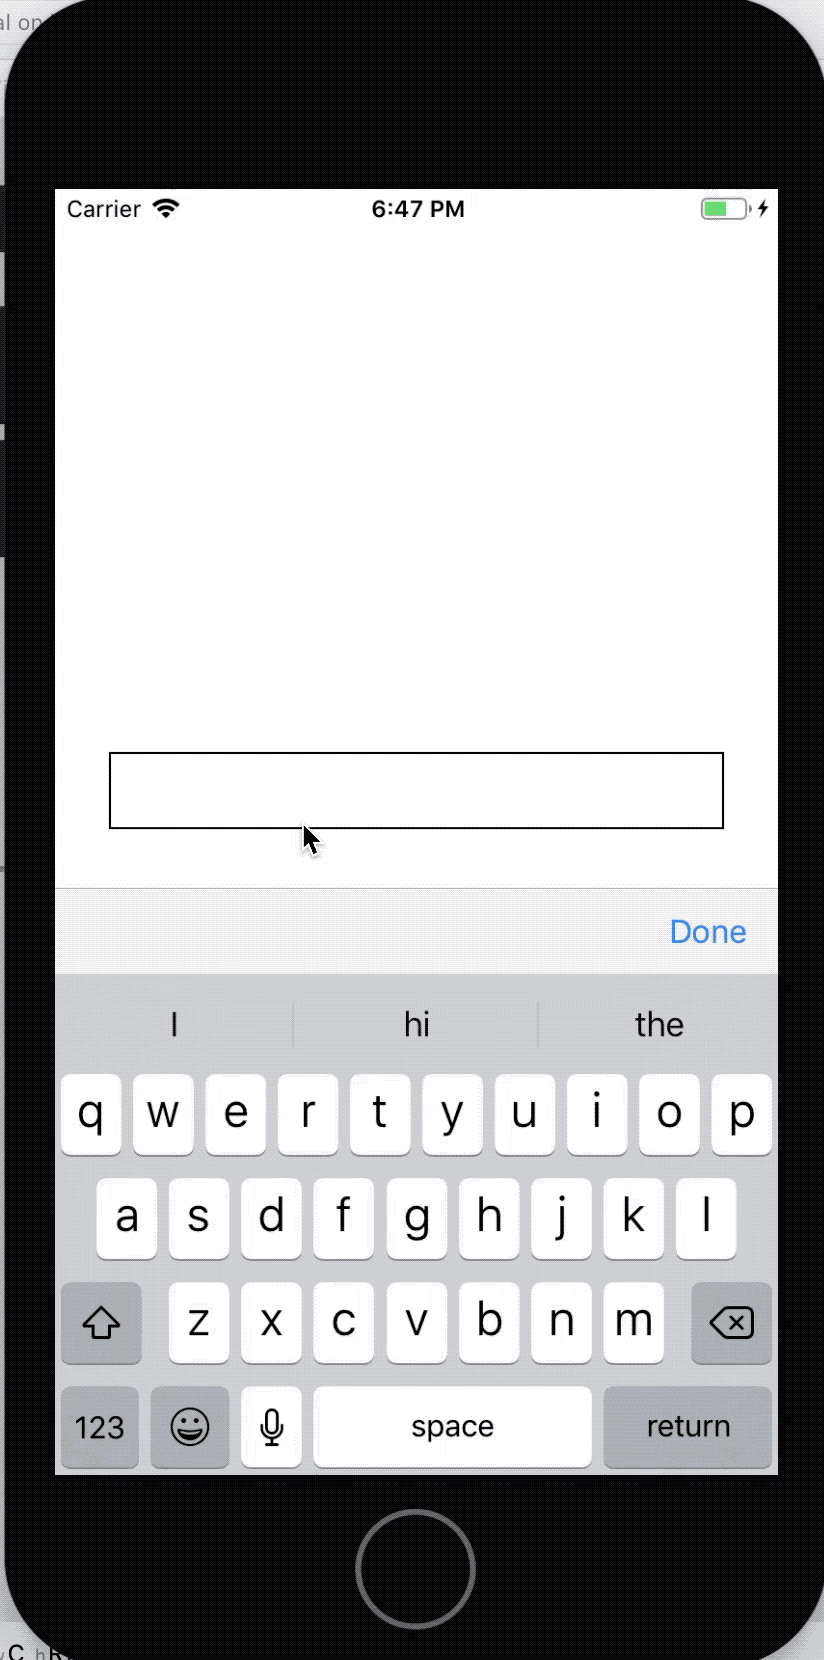
Now move to your
UIViewController class and in viewDidLoad function call above function with your UITextField object, you also need to create a function tapDone which we will pass as selector parameter.
@IBOutlet weak var myTextField: UITextField!
override func viewDidLoad() {
    super.viewDidLoad()
    // Do any additional setup after loading the view, typically from a nib.
    self.myTextField.addInputAccessoryView(title: "Done", target: self, selector: #selector(tapDone))

}
@objc func tapDone() {
    self.view.endEditing(true)
}
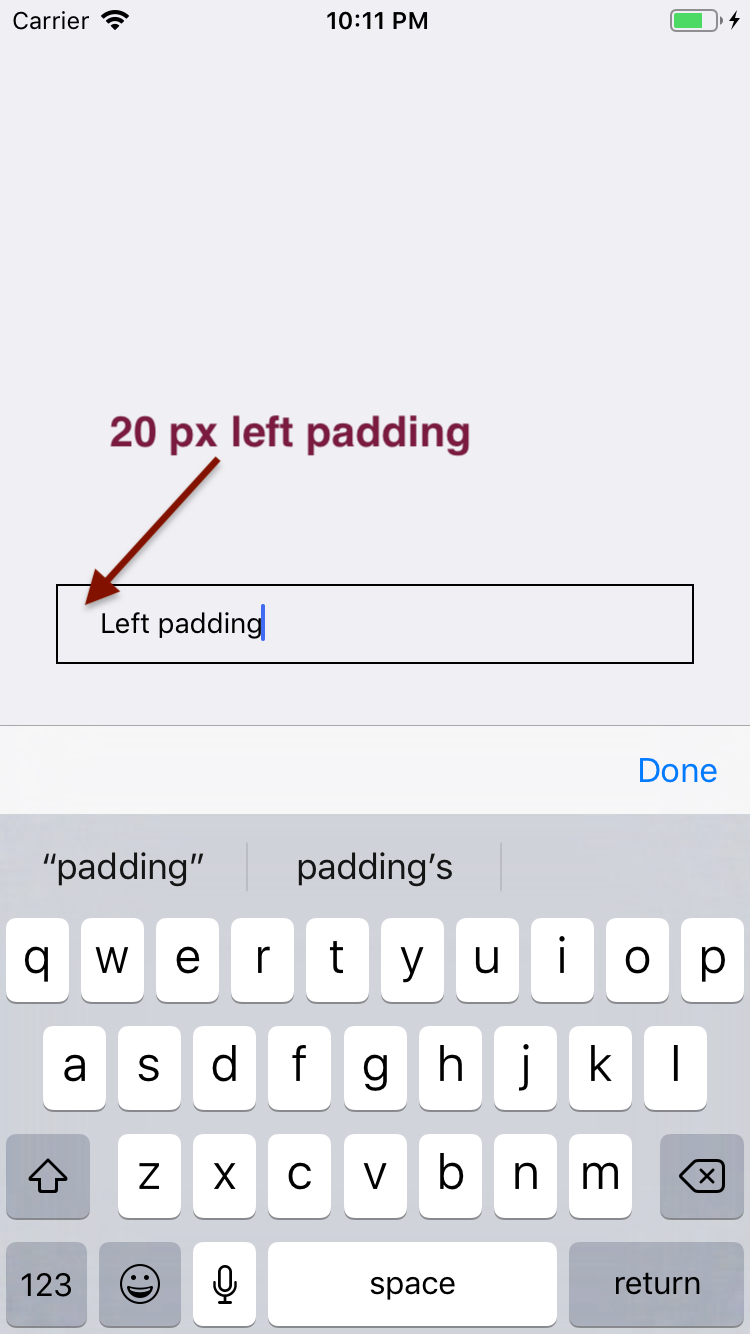
Padding in UITextField
Now let’s add two more functions in the aboveUITextField Extension
func setLeftPadding(padding: CGFloat) {
    let paddingView = UIView(frame: CGRect(x: 0, y: 0, width: padding, height: self.frame.size.height))
    self.leftView = paddingView
    self.leftViewMode = .always
}
func setRightPadding(padding: CGFloat) {
    let paddingView = UIView(frame: CGRect(x: 0, y: 0, width: padding, height: self.frame.size.height))
    self.rightView = paddingView
    self.rightViewMode = .always
}
Now inside your
UIViewController class in viewDidLoad function write one more line.
self.myTextField.setLeftPadding(padding: 20)
UITextField Extension file will be below
import UIKit

extension UITextField {

    func addInputAccessoryView(title: String, target: Any, selector: Selector) {

        let toolBar = UIToolbar(frame: CGRect(x: 0.0,
                                              y: 0.0,
                                              width: UIScreen.main.bounds.size.width,
                                              height: 44.0))//1
        let flexible = UIBarButtonItem(barButtonSystemItem: .flexibleSpace, target: nil, action: nil)//2
        let barButton = UIBarButtonItem(title: title, style: .plain, target: target, action: selector)//3
        toolBar.setItems([flexible, barButton], animated: false)//4
        self.inputAccessoryView = toolBar//5
    }


    func setLeftPadding(padding: CGFloat) {
        let paddingView = UIView(frame: CGRect(x: 0, y: 0, width: padding, height: self.frame.size.height))
        self.leftView = paddingView
        self.leftViewMode = .always
    }

    func setRightPadding(padding: CGFloat) {
        let paddingView = UIView(frame: CGRect(x: 0, y: 0, width: padding, height: self.frame.size.height))
        self.rightView = paddingView
        self.rightViewMode = .always
    }
}
awesome really really helpful please upload some more .
Thank you
example project?
I am still learning.